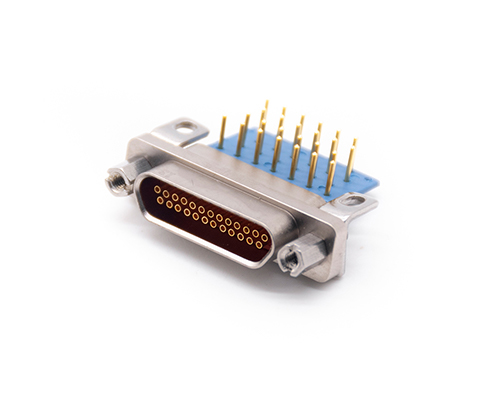
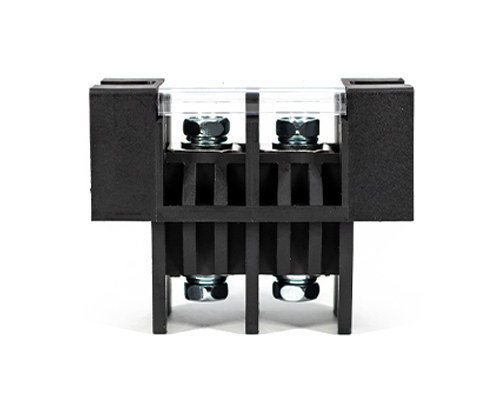
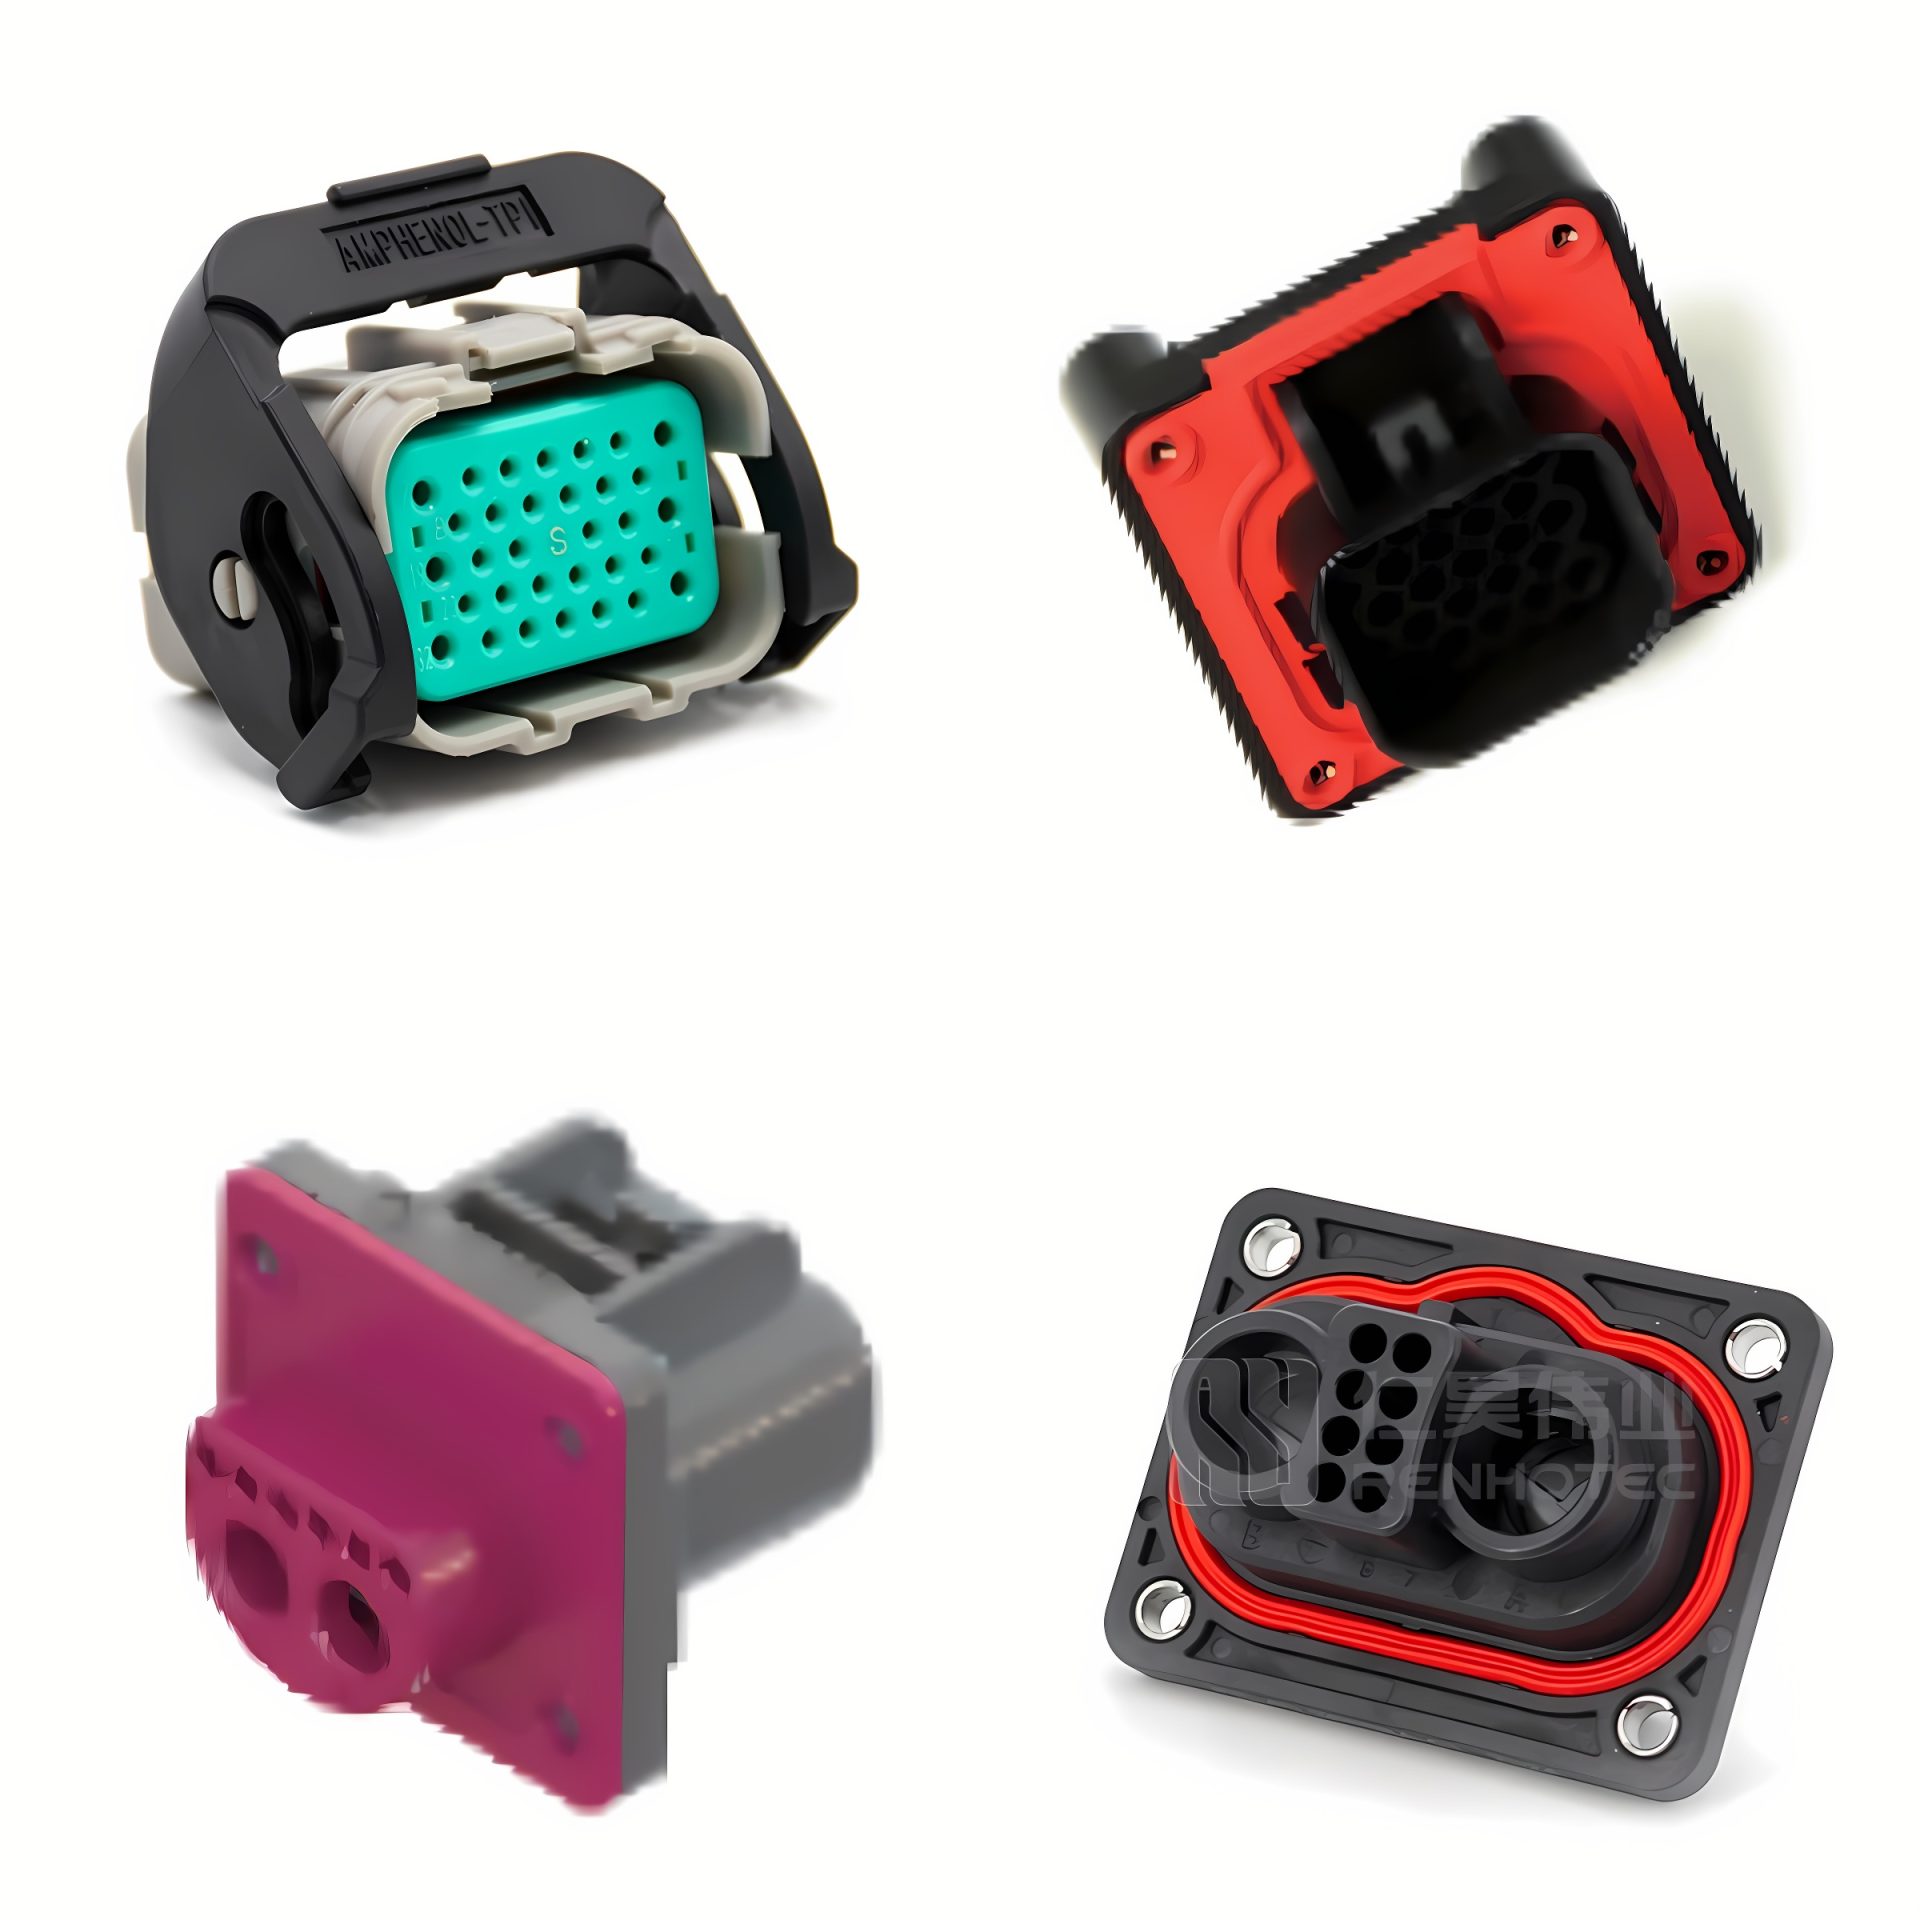
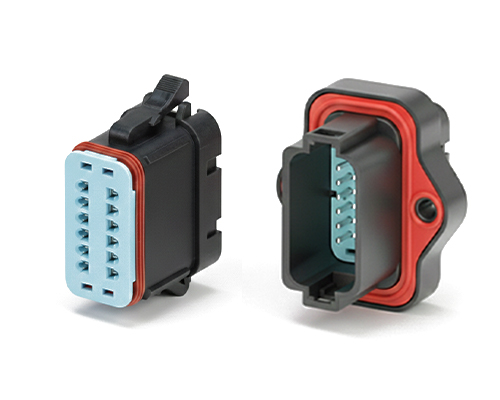
The Rectangular Connector is widely used in aerospace, medical instruments, consumer electronics (such as computers, TVs, game consoles, etc.), industrial control equipment, communication equipment, and automotive electronics. With its reliable connection performance, diverse specifications, and relatively convenient plug-in and unplug operations, it has become an indispensable component in various electronic and electrical applications.
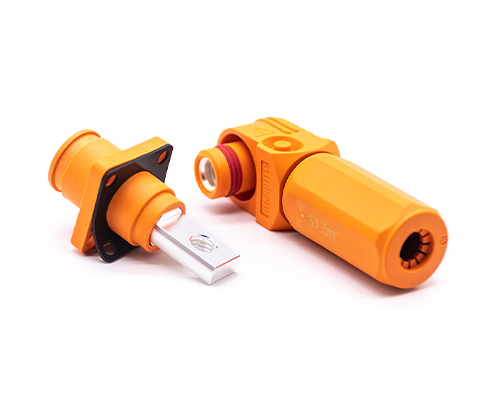
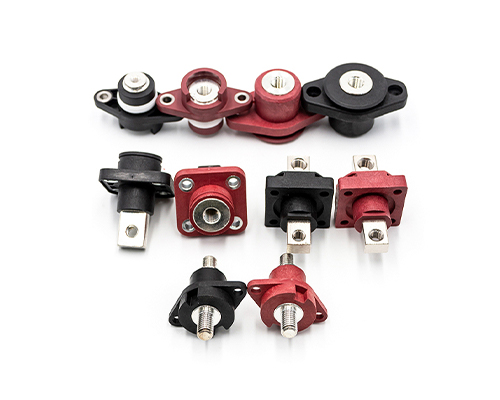
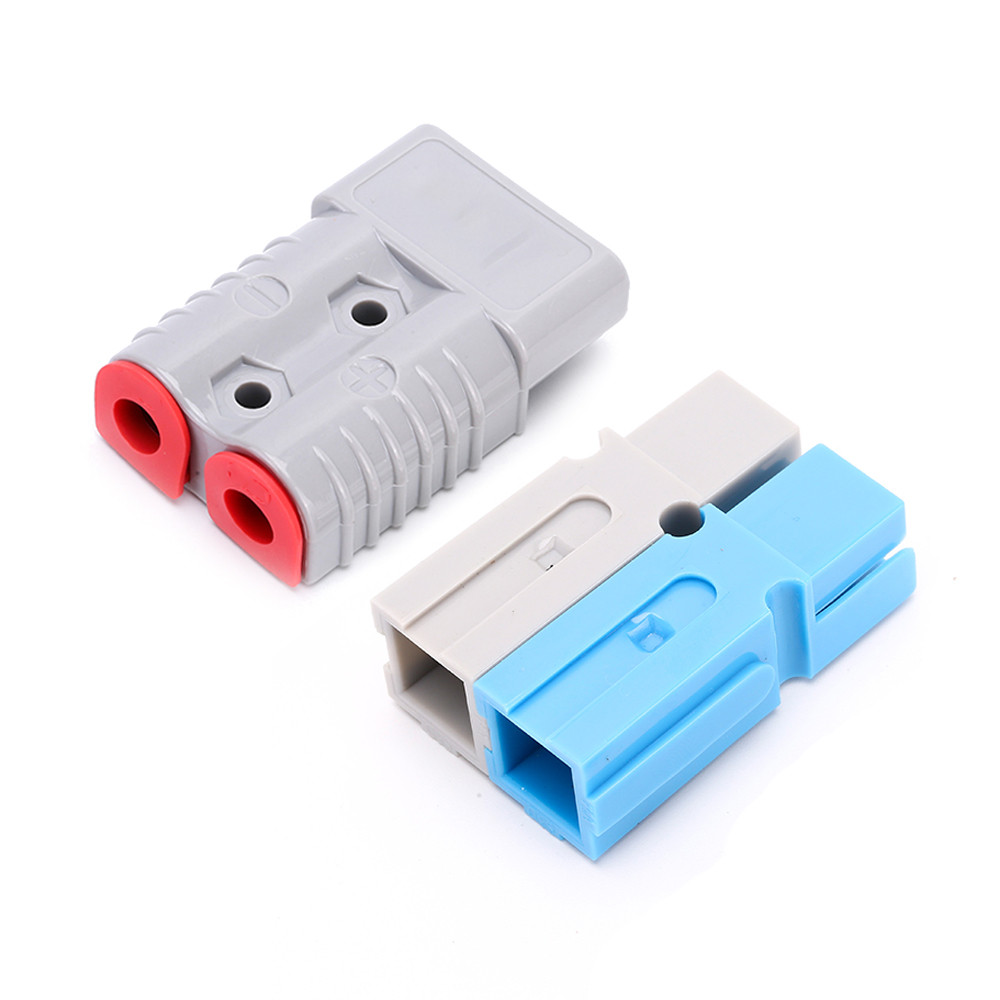
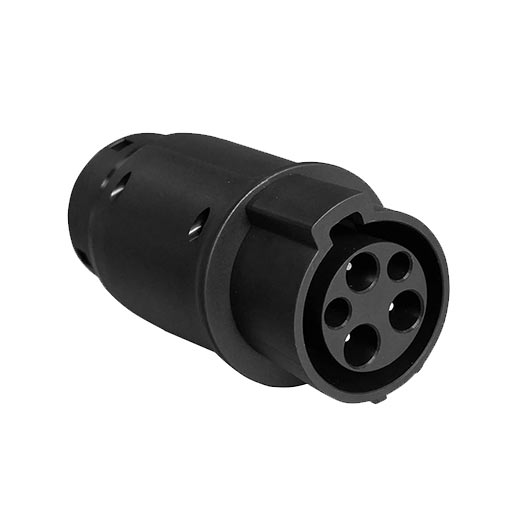
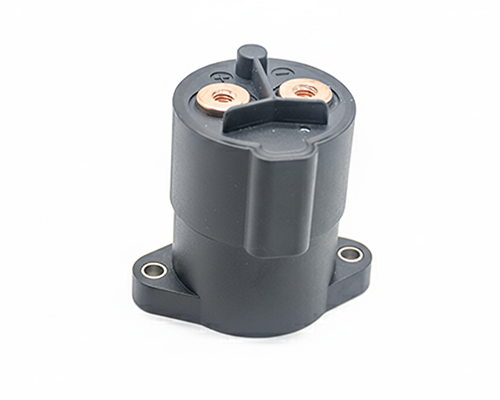
High Voltage Connectors are widely used in EV power systems, renewable energy installations, and industrial high-voltage circuits. Renhotec’s series drives the building of efficient, safe, and sustainable electrical ecosystems, meeting current technological demands.
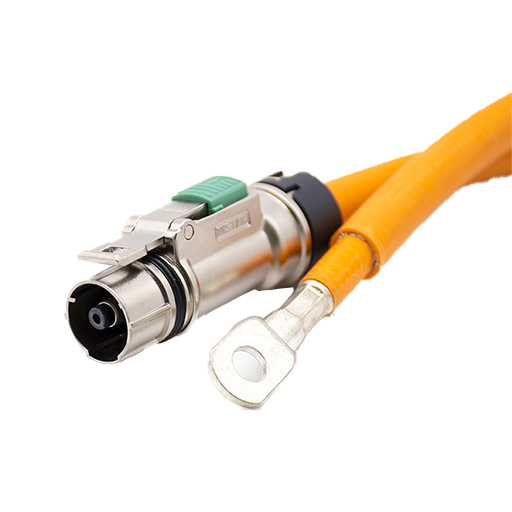
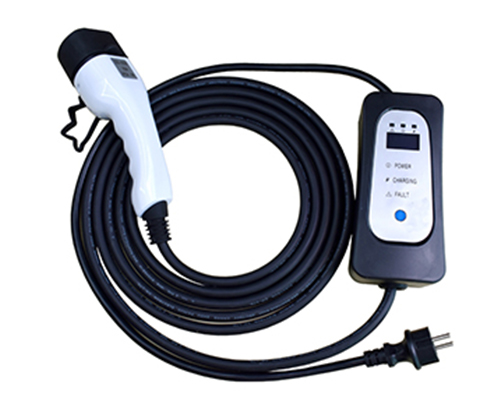
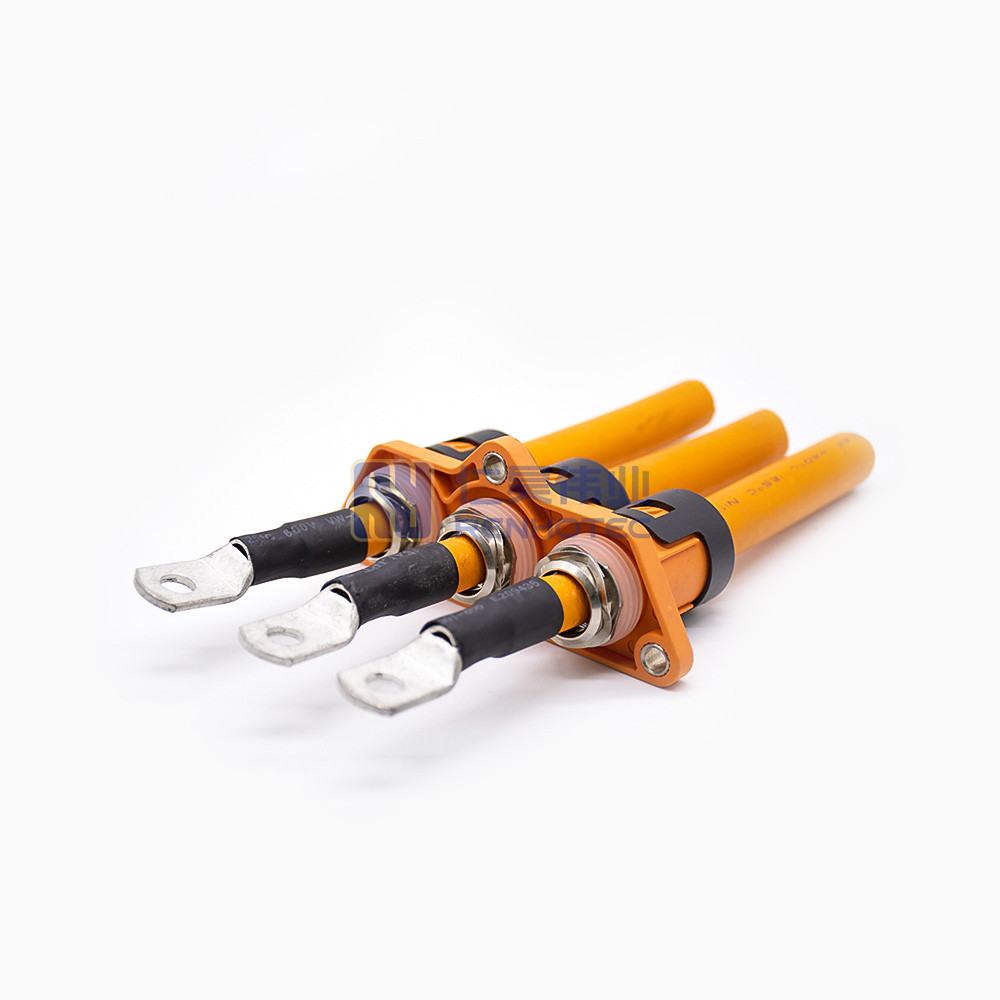
Renhotec EV Cable, crafted with top-notch conductive materials and meticulously engineered insulation, showcases outstanding impedance control and voltage-withstanding properties. Its design combines flexibility and durability to meet a wide array of installation needs. This cable is widely utilized in grid interconnections, large-scale industrial power supply systems, and high-voltage renewable energy projects, enabling smooth and efficient power transmission.
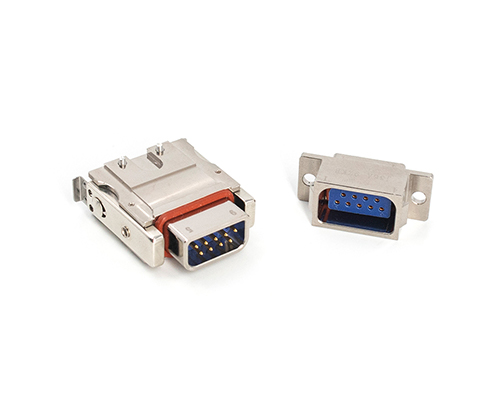
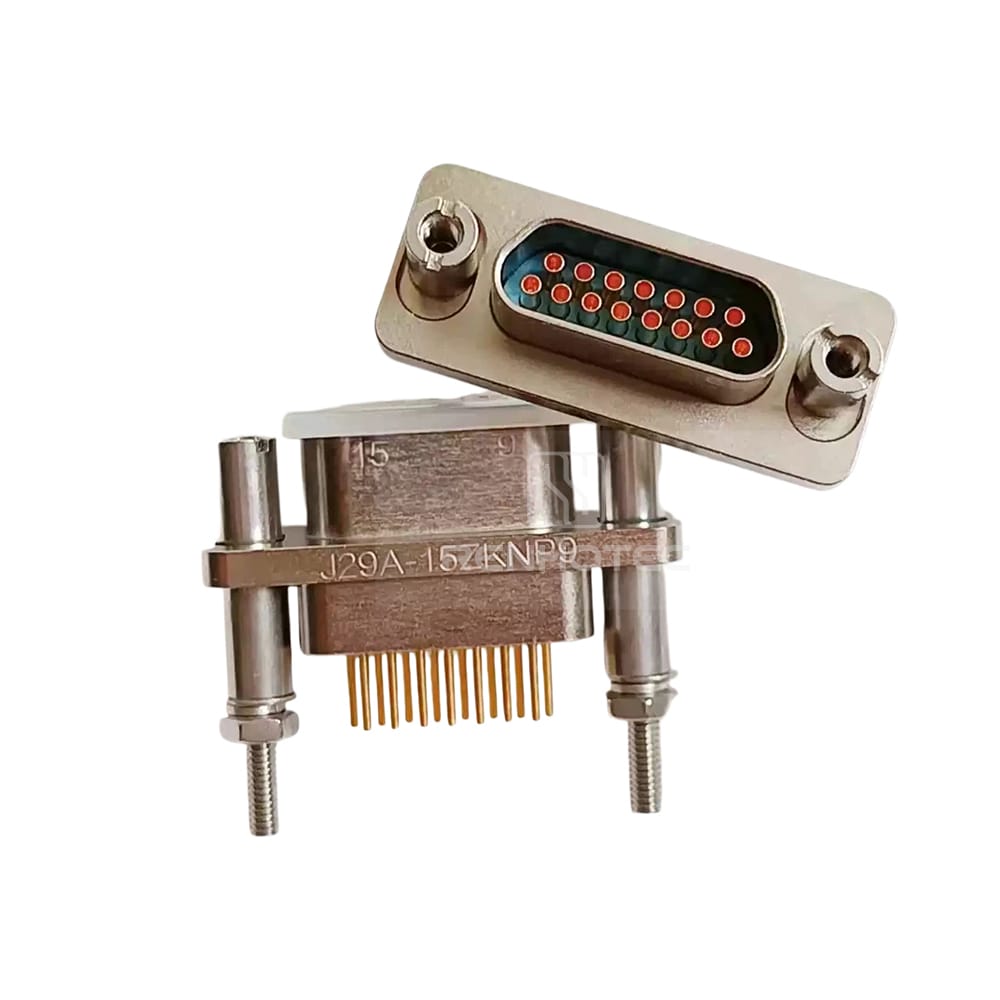
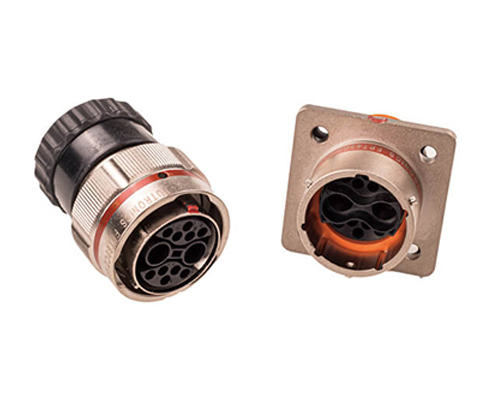
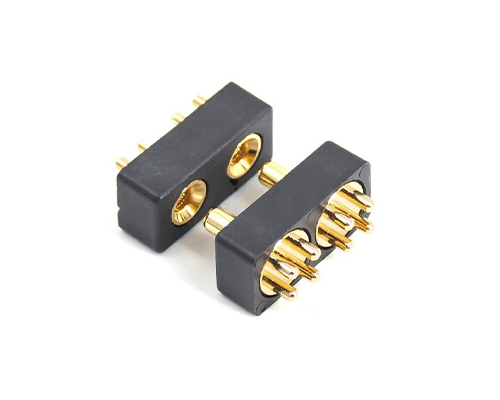
Renhotec, as a professional supplier, offers a comprehensive range of these Signal Transmission Connector products. Whether it is the high-reliability applications of the metal series or the wide adaptability of the plastic series in consumer electronic products, Renhotec can provide customers with high-quality options to meet the diverse requirements of signal transmission connections in different industries and scenarios.
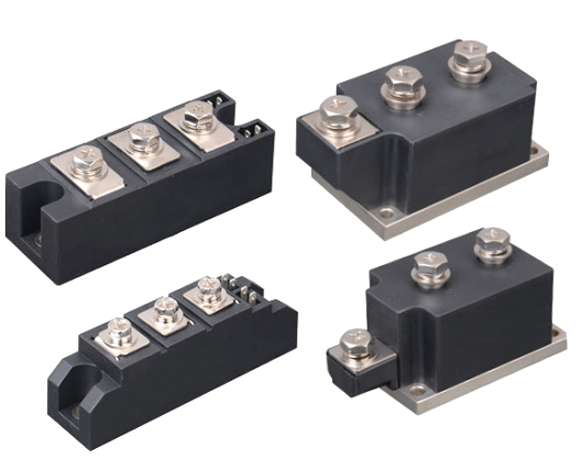
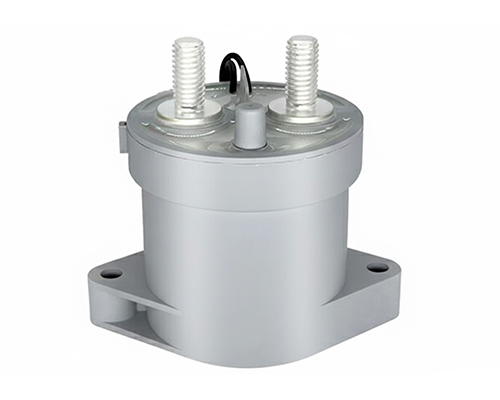
Renhotec, active in electrical components, offers High Voltage DC Contactors in Epoxy Resin Sealing and Ceramic Sealing variants, with a 20A – 1000A current range. The Epoxy Resin Sealing one is cost-effective and protective. The Ceramic Sealing variant excels in thermal stability and insulation. They’re widely used in EV charging, renewable energy grid, and industrial high-voltage DC power distribution for reliable circuit control and current interruption, providing comprehensive solutions for multiple sectors.
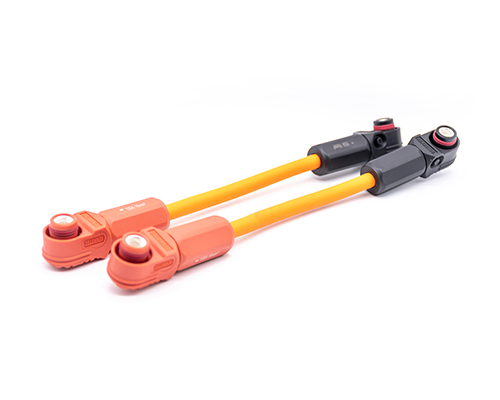
How to Assemble a High Voltage Interlock Connector
As far as the entire high-voltage interconnection system is concerned, in order to ensure the safety of the high-voltage system during power-on and power-off, the concept of high-voltage interlocking is introduced in the connection design.
To put it simply, when the connector is plugged and connected, the high-voltage circuit is connected first, and then the high-voltage interlock signal circuit is connected. When it is disconnected, the high-voltage interlock signal is disconnected first, and then the high-voltage circuit is disconnected.
What is a High Voltage Interlock
The real meaning of the secondary locking structure of the high-voltage interlock connector is: after the primary lock is closed, if the primary lock fails or the operation verification is not in place, the secondary lock will protect the primary lock after the primary lock is closed, which is a very important function.
In the auxiliary lock structure combined with the main lock, the most commonly used mechanism is the moment arm mechanism. Because one-time locking is related to the insertion force.
According to the mechanical design concept, it is required to adopt the form similar to the moment arm mechanism. In this way, the purpose of labor saving can be achieved, and the connector can be conveniently inserted and pulled out in place.
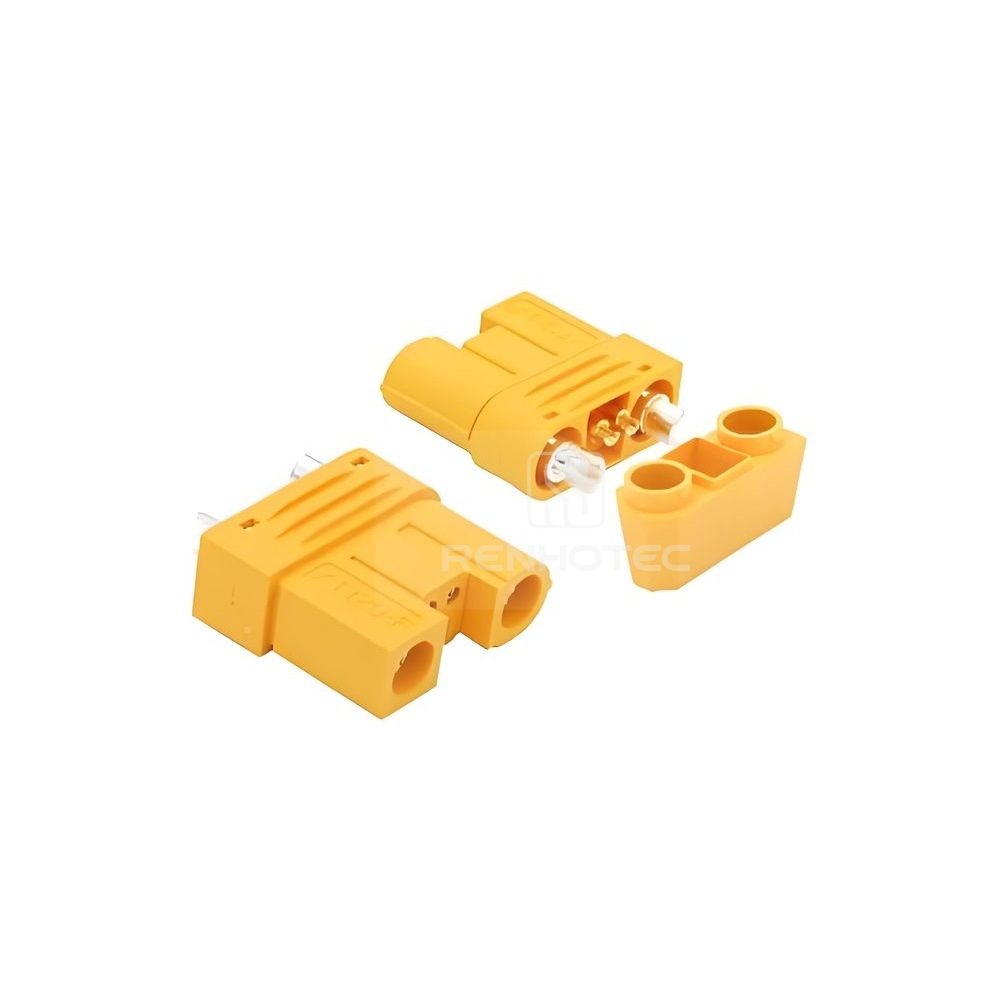
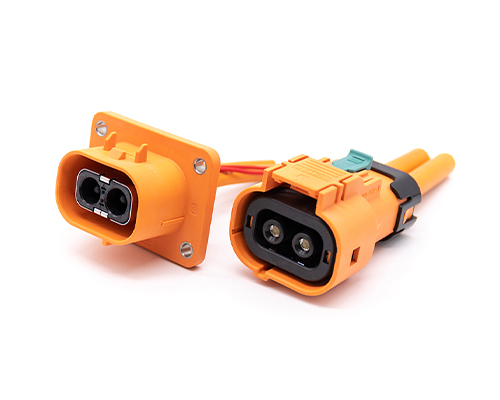
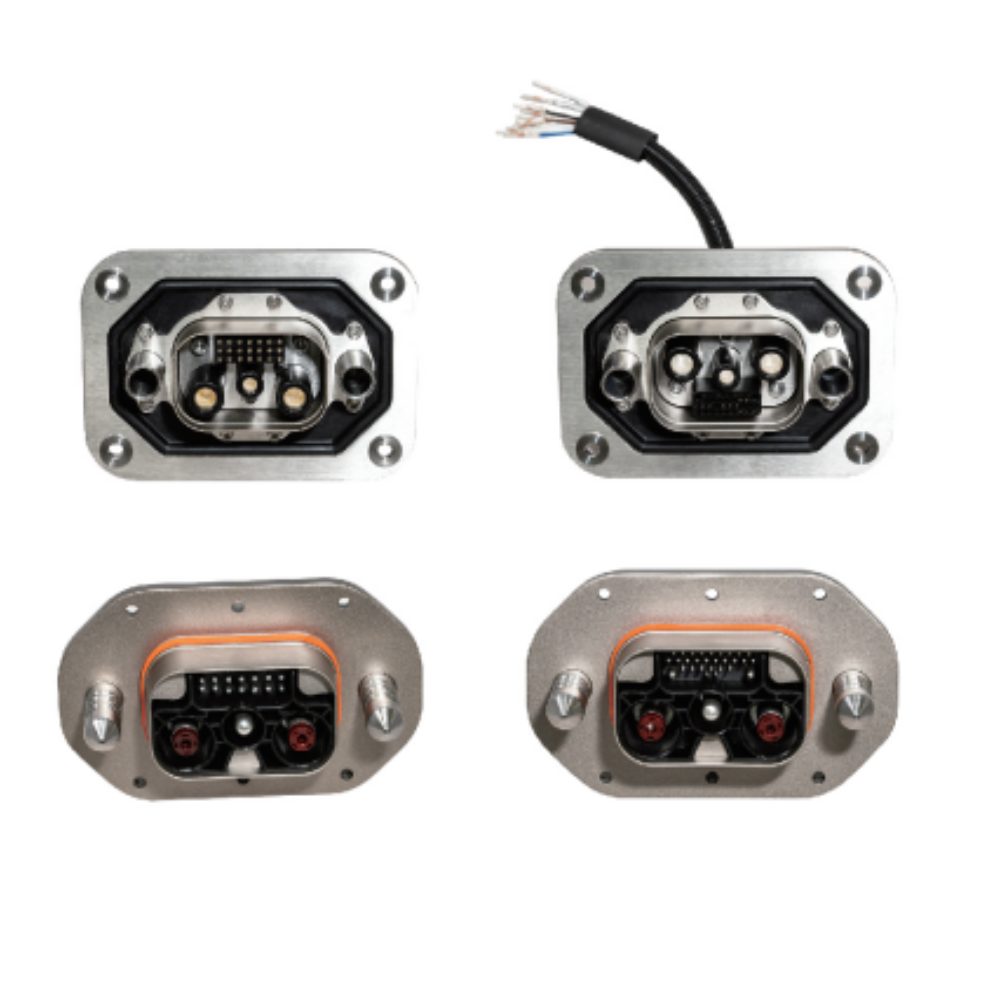
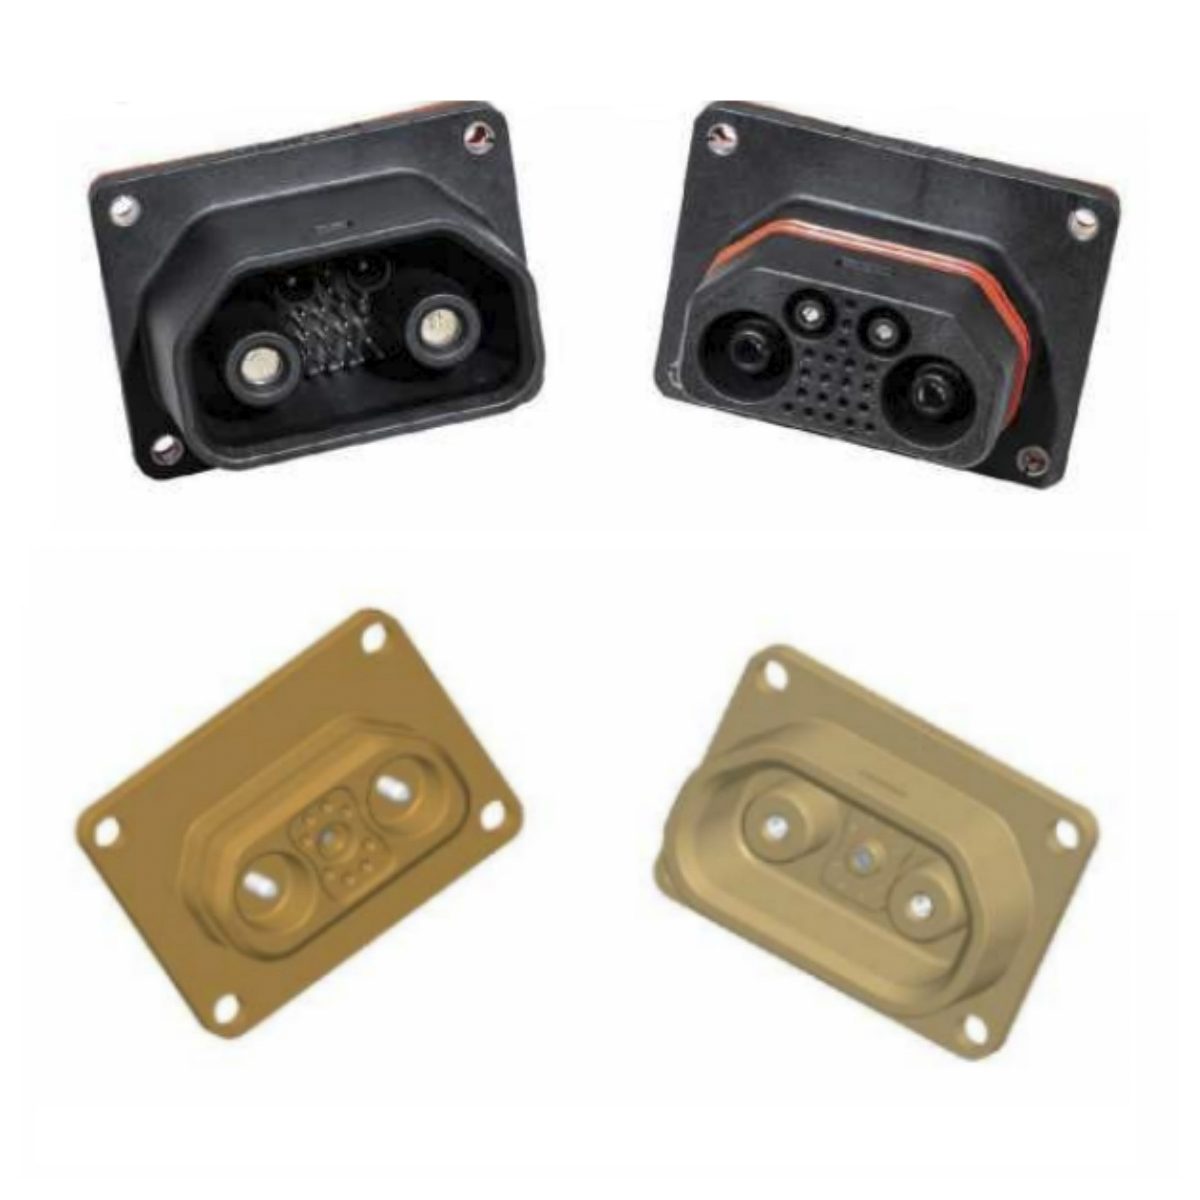
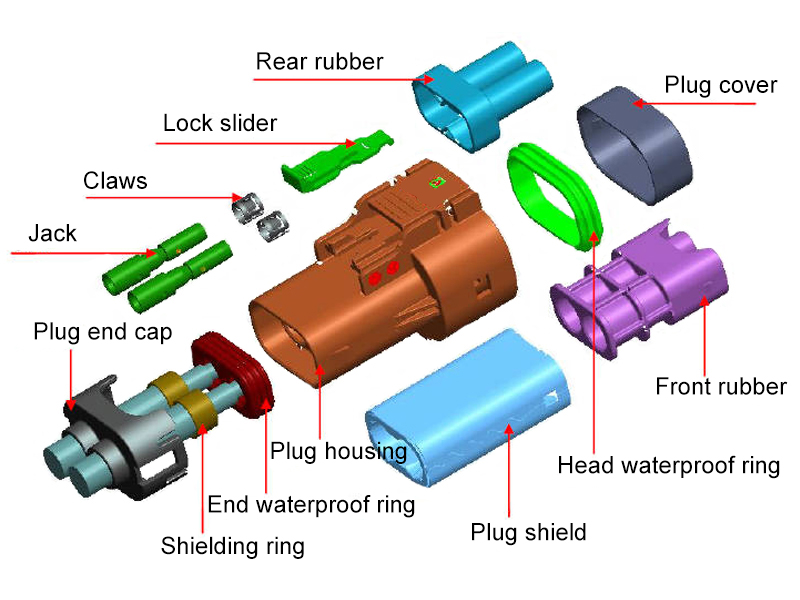
The product plug structure mainly includes plug cover, head waterproof ring, front rubber core, rear rubber core, plug shield, plug shell, locking slider, claws, jack, end waterproof ring, shielding ring, plug end cap.
(2) Assemble – Plug
① Install the claws into the front rubber core hole, pay attention to the direction of the claws (the tongue is facing forward).
② Put the rear rubber core into the front rubber core and press the claw.
③ Put the assembled rubber core into the shielding cover and check whether it is stuck in place.
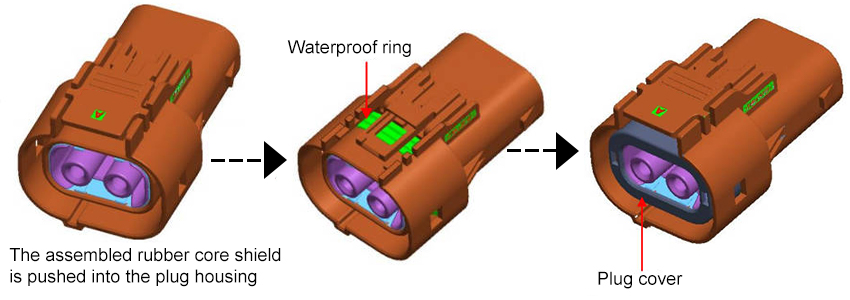
④ Push the assembled rubber core shield into the plug housing until the buckle is in place and the assembly is OK.
⑤ Install the waterproof ring into the plug housing.
⑥ Buckle the top cover of the plug into the front end of the plug housing. And check whether the buckle is fastened after assembly.
⑦ Push the locking slider into the corresponding position of the plug housing.
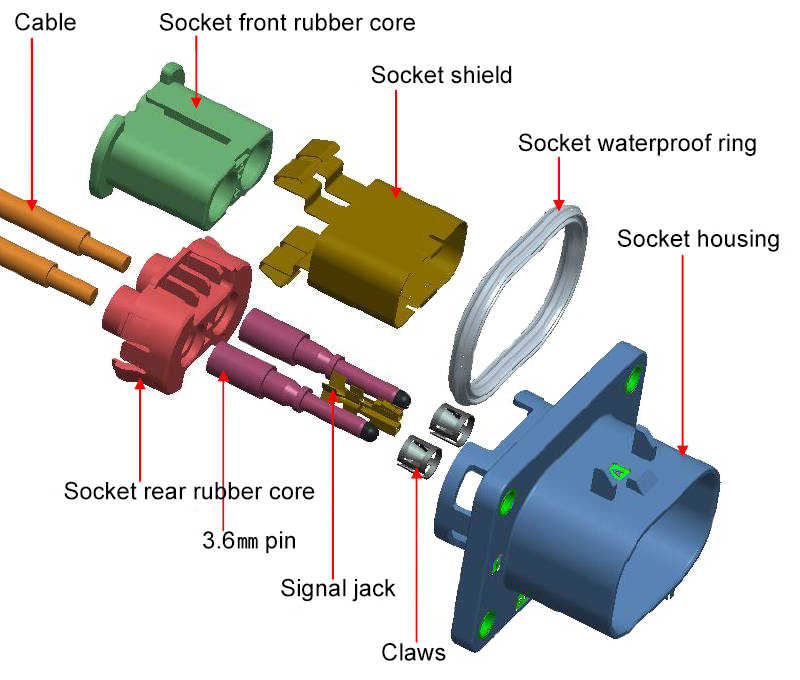
2. High Voltage Interlock Connector – Socket
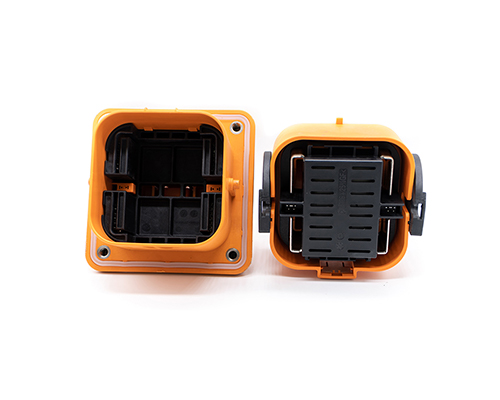
(1) Product socket structure
The socket structure of this product mainly includes socket shell, socket waterproof ring, socket shielding cover, claws, signal jack, 3.6㎜ pin, socket front rubber core, socket rear rubber core, and cable.
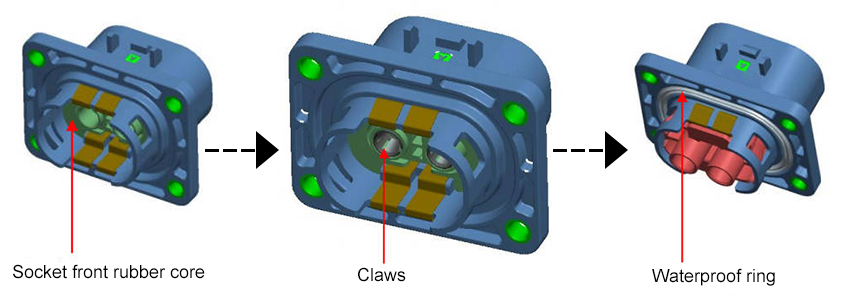
(2) Assemble – Socket
① Assemble the shielding cover and the front rubber core of the socket. And then assemble them into the socket housing after the two are installed.
② Install the claws into the front rubber core hole. Pay attention to the direction of the claws (the tongue is facing forward).
③ After the rubber core snaps into the socket housing, observe whether the four snap points are in place. And finally install the waterproof ring to complete the assembly.
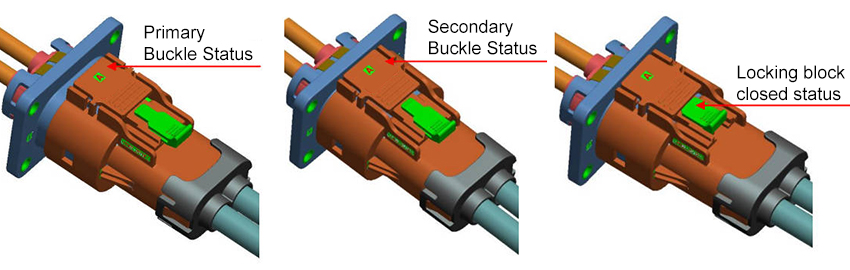
3.High Voltage Interlock Connector-Plug and Socket
(1) Assemble – Plug and Socket
① Slide the locking slider backward until it is stuck, and then insert the plug into the socket. The first is the first level buckle, when you hear a crisp sound, it means the buckle is in place.
② After the first-level buckle is in place, push it forward again. And hear a crisp sound again, indicating that the second-level buckle is in place and the assembly is completed.
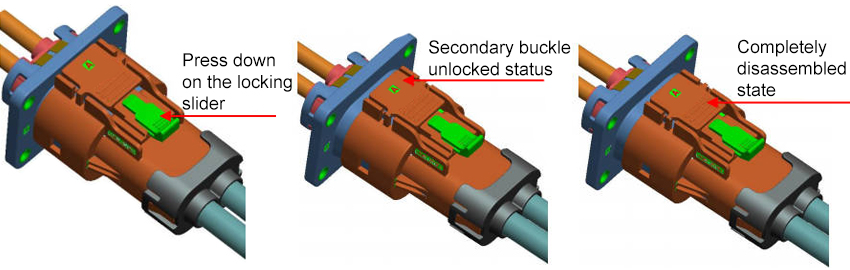
(2) Disassemble – Plug and Socket
① Disassemble the locking slider.
② While pressing the locking slider lightly, pull the plug outward to complete the first-level unlocking. And the signal has been disconnected at this time.
③ Press and hold the button in the picture, pull out the plug completely, and the unlocking is completed.
Summary
Above are the steps for assembling and mating 2 core 3.6mm high voltage interlocking plastic connector plug and socket. The high-voltage interlock connector is a critical safety component in electric vehicle design. Its unique two-stage locking mechanism ensures that the high-voltage circuit is disconnected before the connector is unlocked. This prevents dangerous arcing and protects operators.
Renhotec high-voltage interlock connectors include high-voltage, high-current and signal connection solutions for high-voltage power harnesses and signal connections in hybrid and electric vehicles. It has a variety of products to choose from, from 1 core to 6 cores, rated current from 16A to 500A, touch-resistant, single-core or multi-core shielded cables are available. If you have any needs, please contact us.
One thought on “How to Assemble a High Voltage Interlock Connector”


interesting post